Deploy Kubeflow using MiniKF on AWS

This guide describes how to launch a MiniKF instance on AWS. MiniKF is a single VM solution on the AWS Marketplace, and installs:
- Kubernetes (using Minikube)
- Kubeflow
- Kale, an orchestration and workflow tool for Kubeflow that enables you to run complete data science workflows starting from a notebook
- Arrikto’s Rok, a data management software for data versioning and reproducibility
Installing MiniKF on AWS
To install MiniKF on AWS, follow the steps below:
-
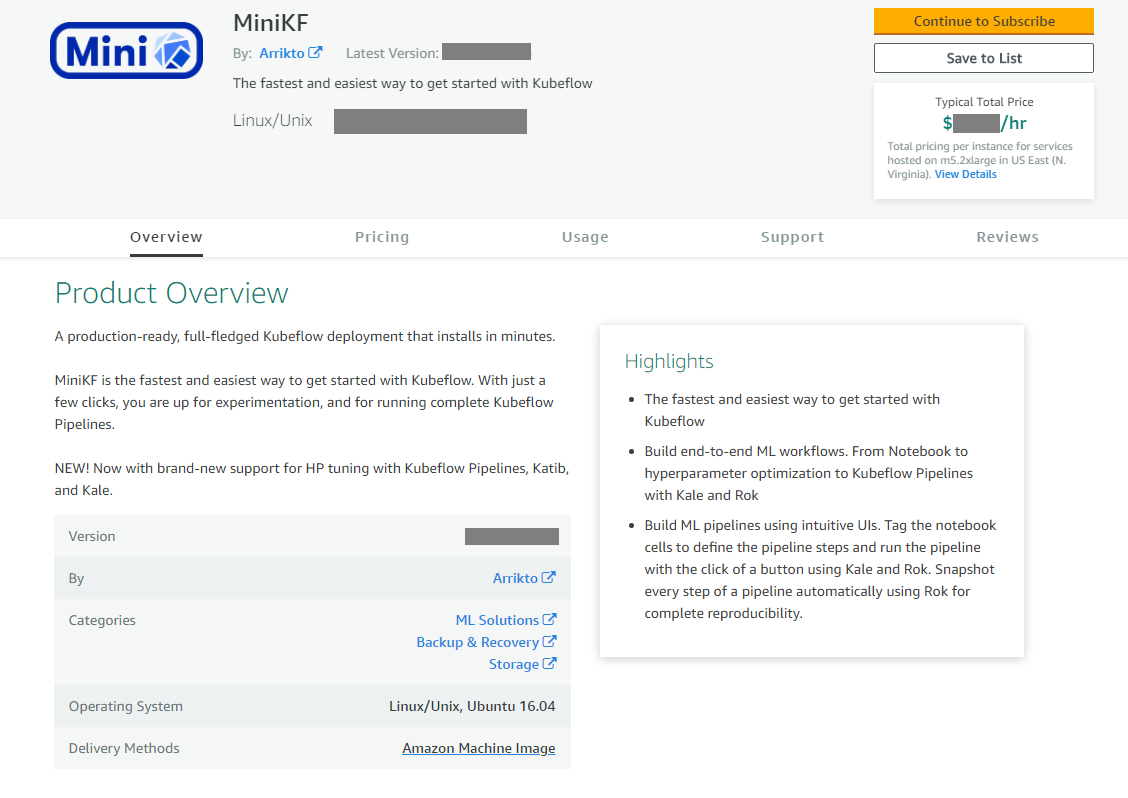
Go to the MiniKF page on the AWS Marketplace.
-
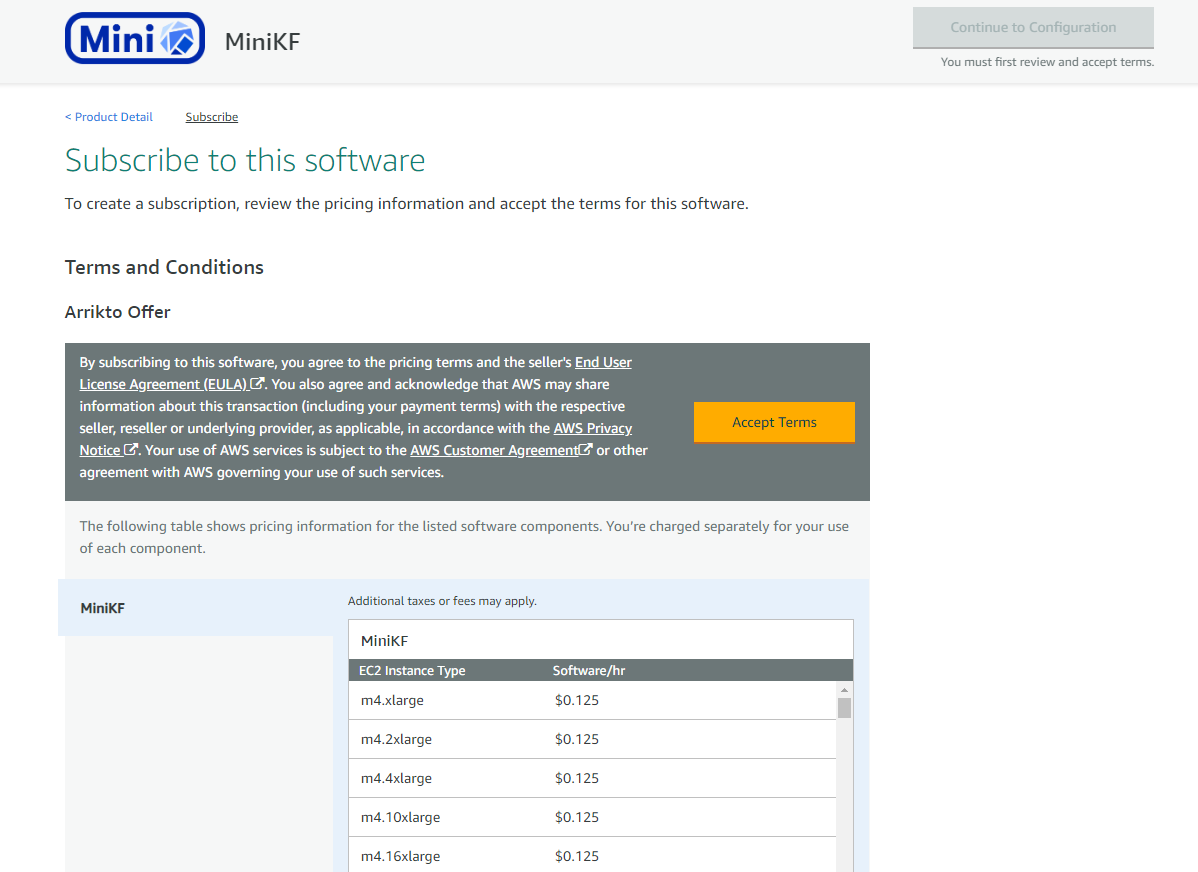
Click on the Continue to Subscribe button.
-
Click on the Accept Terms button.
-
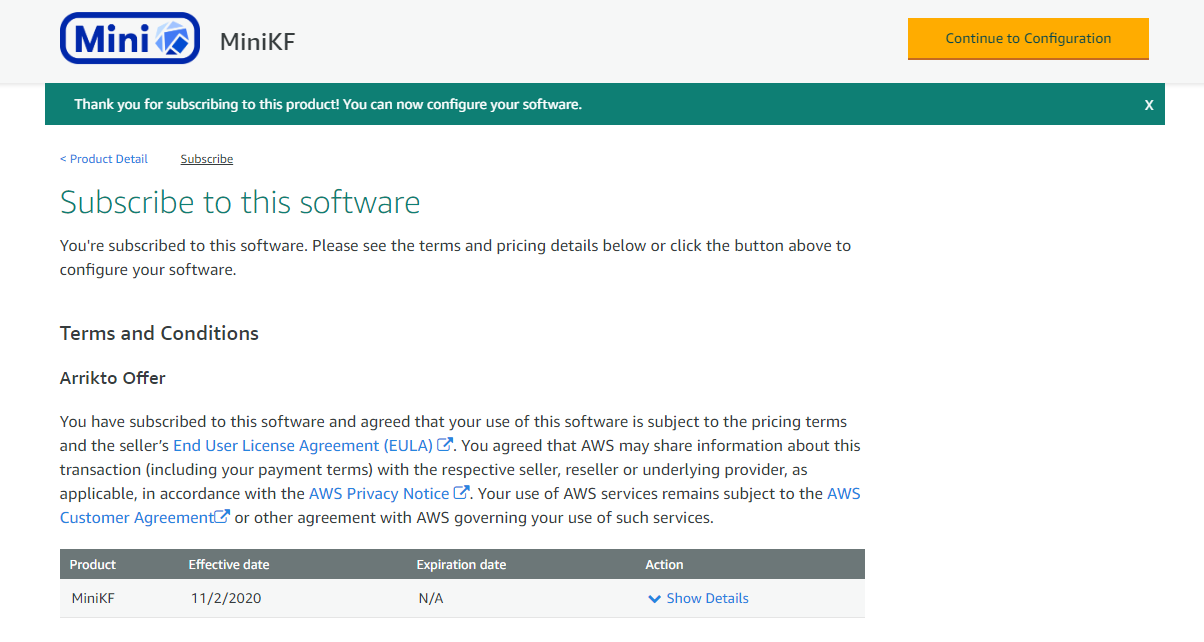
Wait for a few minutes and the click on Continue to Configuration.
-
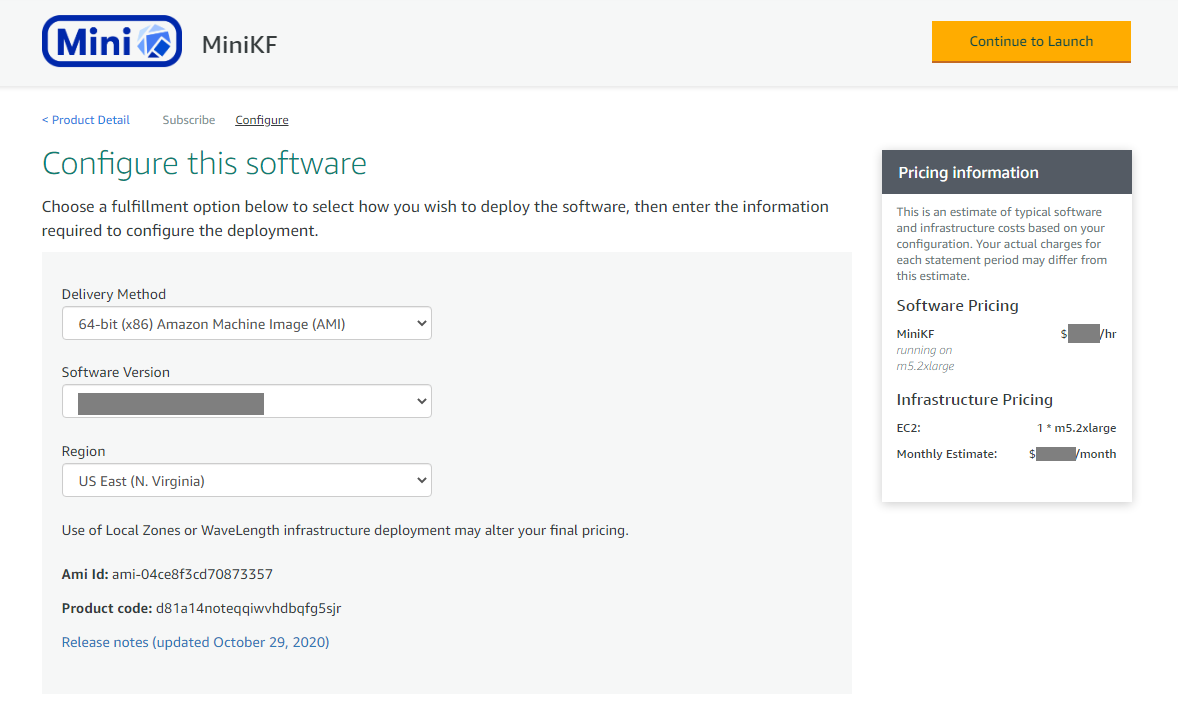
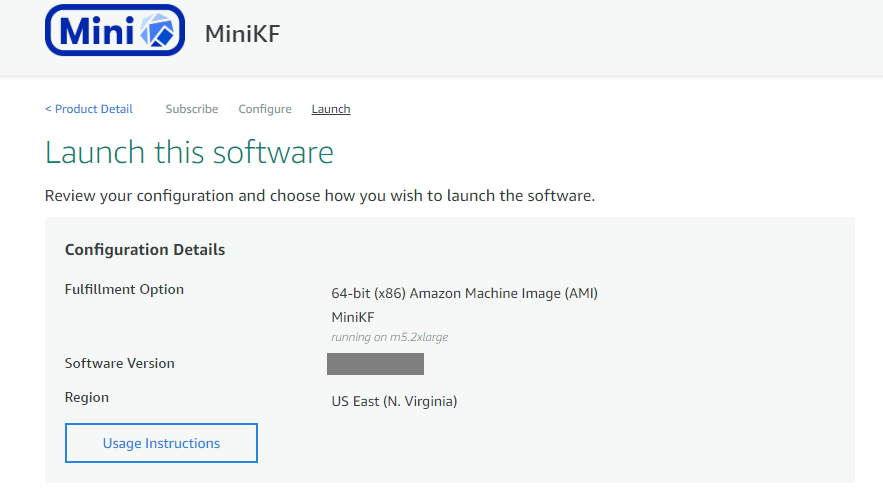
Select a Region. We recommend you keep the default values for Delivery Method and Software Version. Then click Continue to Launch.
-
Here you can review your configuration details. Don’t forget to view the Usage Instructions and keep them handy, as you are going to need them later.
-
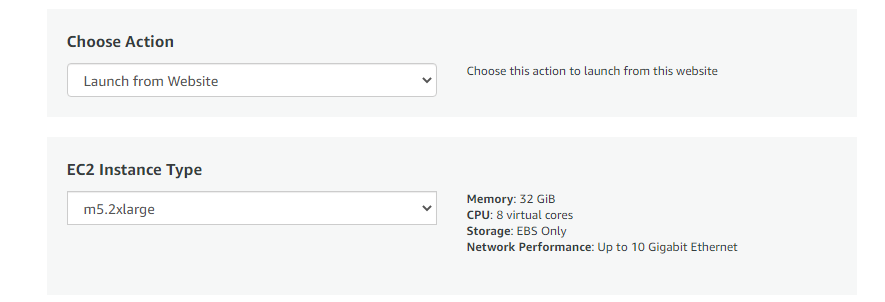
You can also select how to launch MiniKF or change the EC2 instance type. We recommend you leave the default value for Choose Action. We recommend that you keep the default EC2 Instance Type (m5.2xlarge) or choose an even more powerful instance. Choosing a VM with reduced specs may make it impossible to train ML models.
-
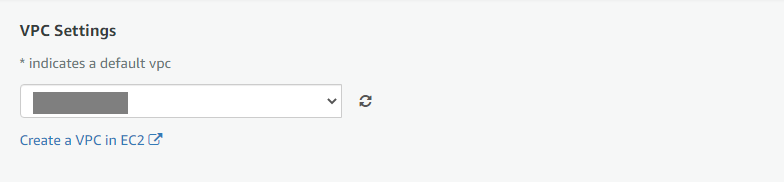
Choose an existing VPC or create a new one. If you create a new one, make sure you click on the refresh icon to update the contents of the list, so that your new VPC appears in it.
-
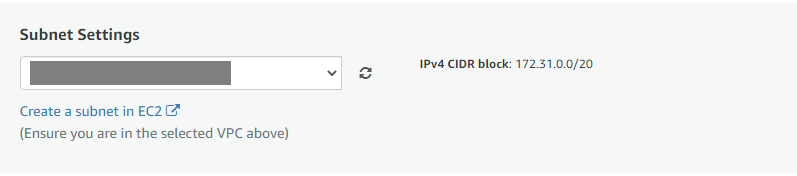
Choose an existing Subnet or create a new one. If you create a new one, make sure you click on the refresh icon to update the contents of the list, so that your new subnet appears in it.
-
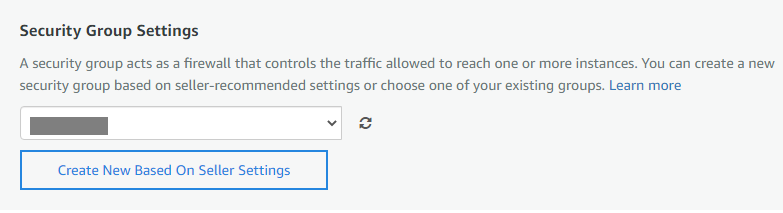
We strongly recommend to create a new security group. Otherwise you may not be able to access your MiniKF. To do so, click on Create New Based On Seller Settings.
Note: If you need to use an existing security group, make sure it covers the ports mentioned in the usage instructions (check at the top of this page).
-
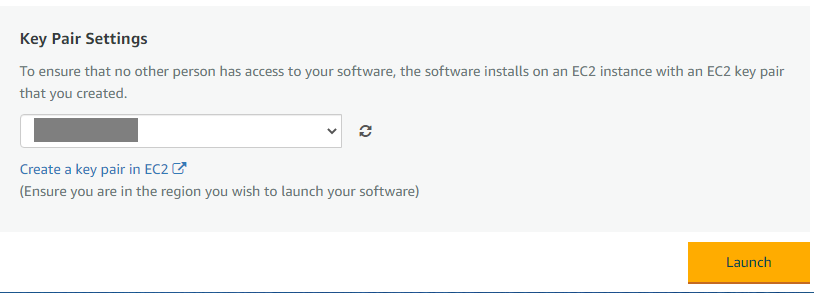
Choose an existing Key Pair or create a new one. If you create a new one, make sure you click on the refresh icon to update the contents of the list, so that your new key pair appears in it.
-
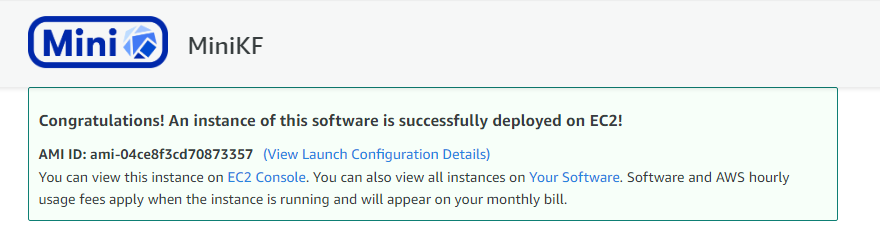
Click Launch. Then, a message will show up informing you about the successful installation. The message contains a link to view the instance on the EC2 Console. Click on it.
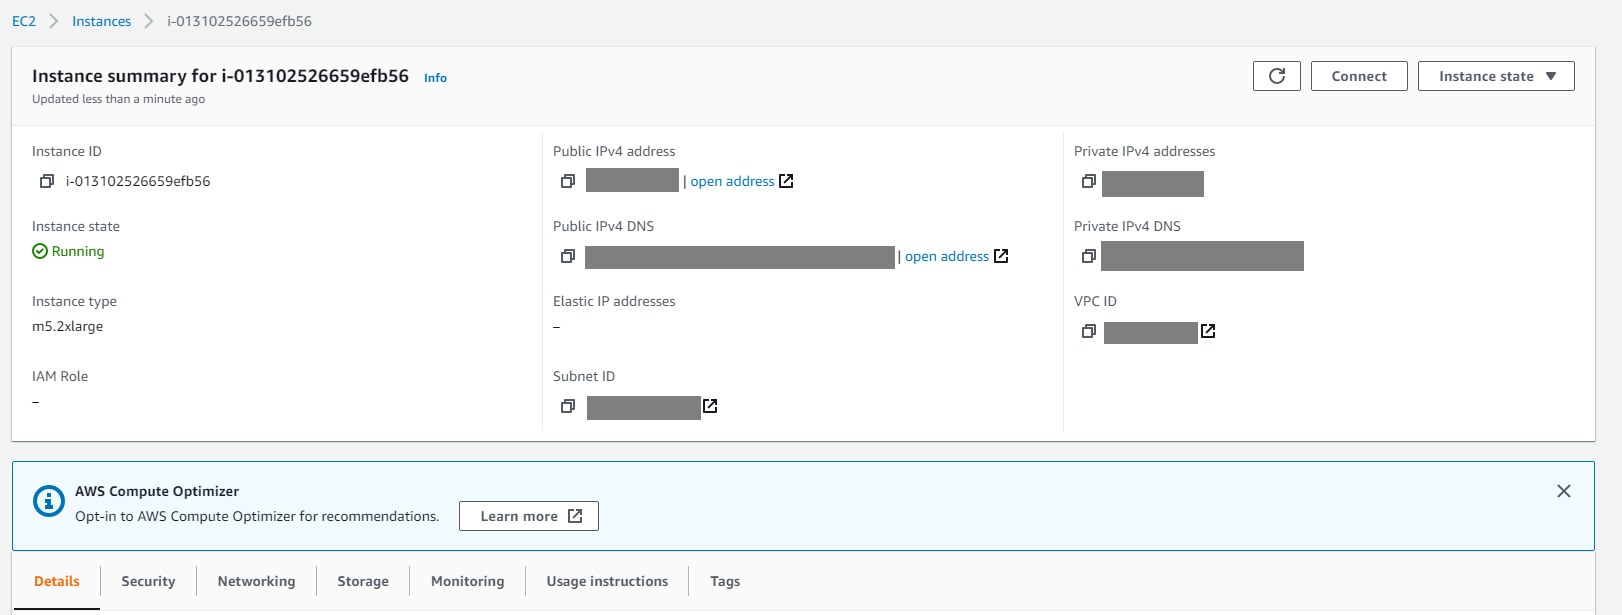
-
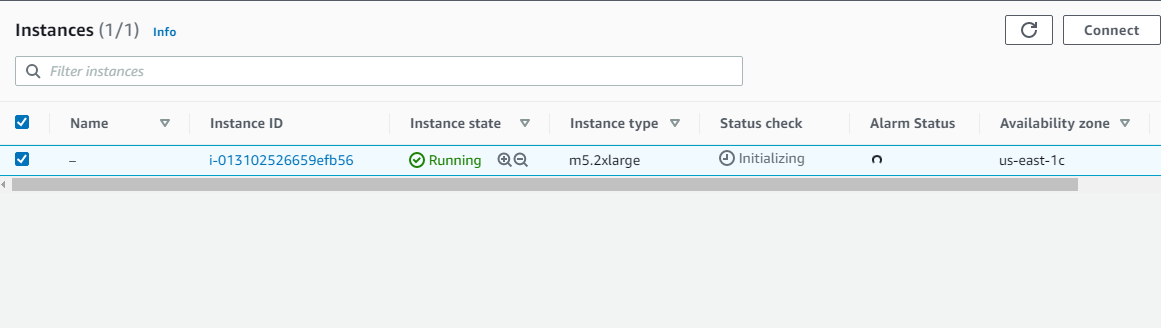
You should now see a screen like this. Click on the Instance ID of the created instance.
-
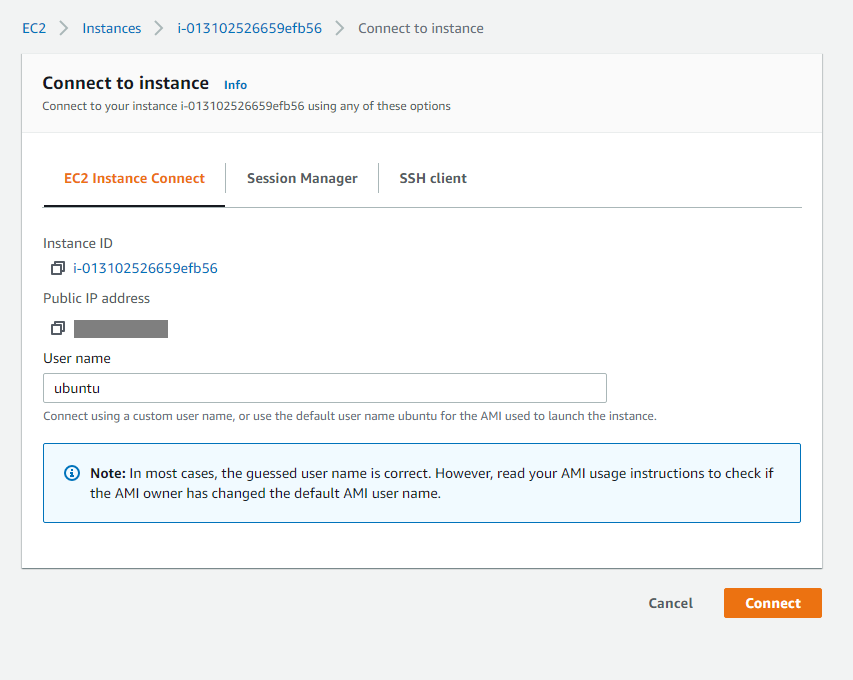
You will then see this page. Click Connect to connect to the instance using EC2 Instance Connect.
Note: This will only work if you have created a security group based on seller settings, as in step 10, or you have configured a security group based on the usage instructions. Otherwise, you need to SSH to the instance manually, please refer to Connecting to your Linux instance using SSH.
-
The User name will be prefilled. Click Connect.
-
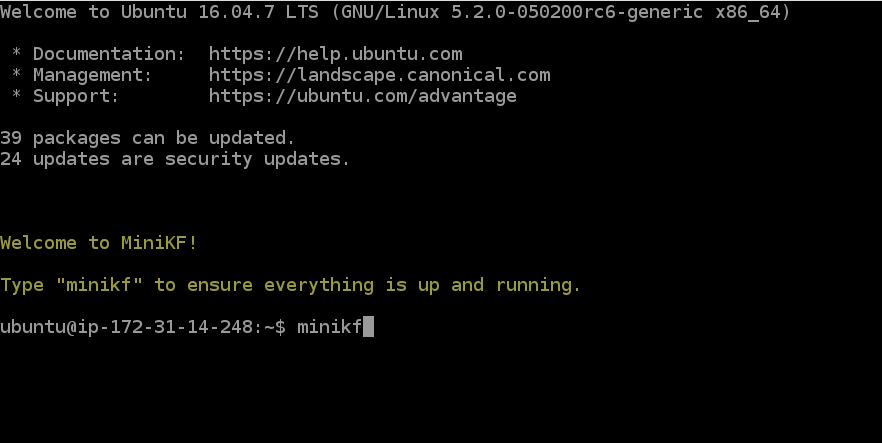
Follow the on-screen instructions and type minikf to view the progress of the deployment.
-
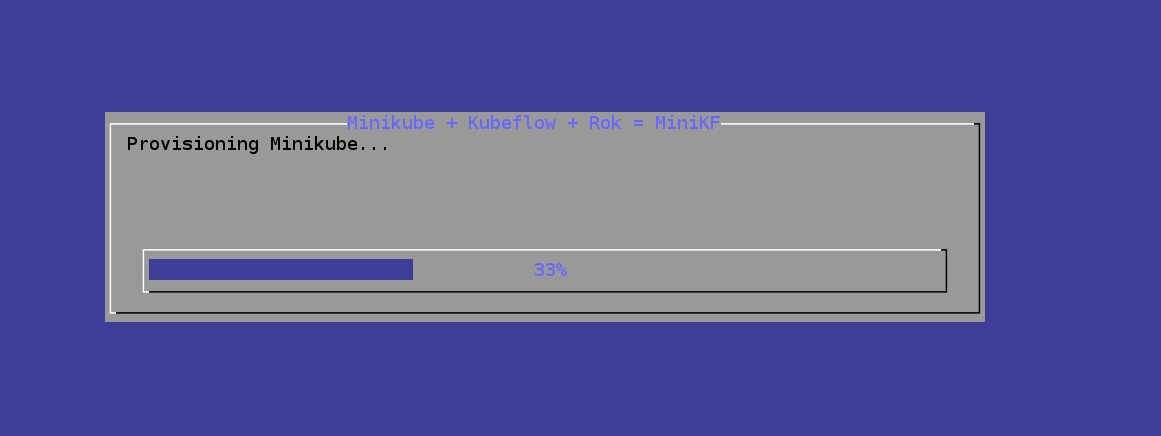
Wait for a few minutes.
-
Once the installation is completed you will see this screen.

-
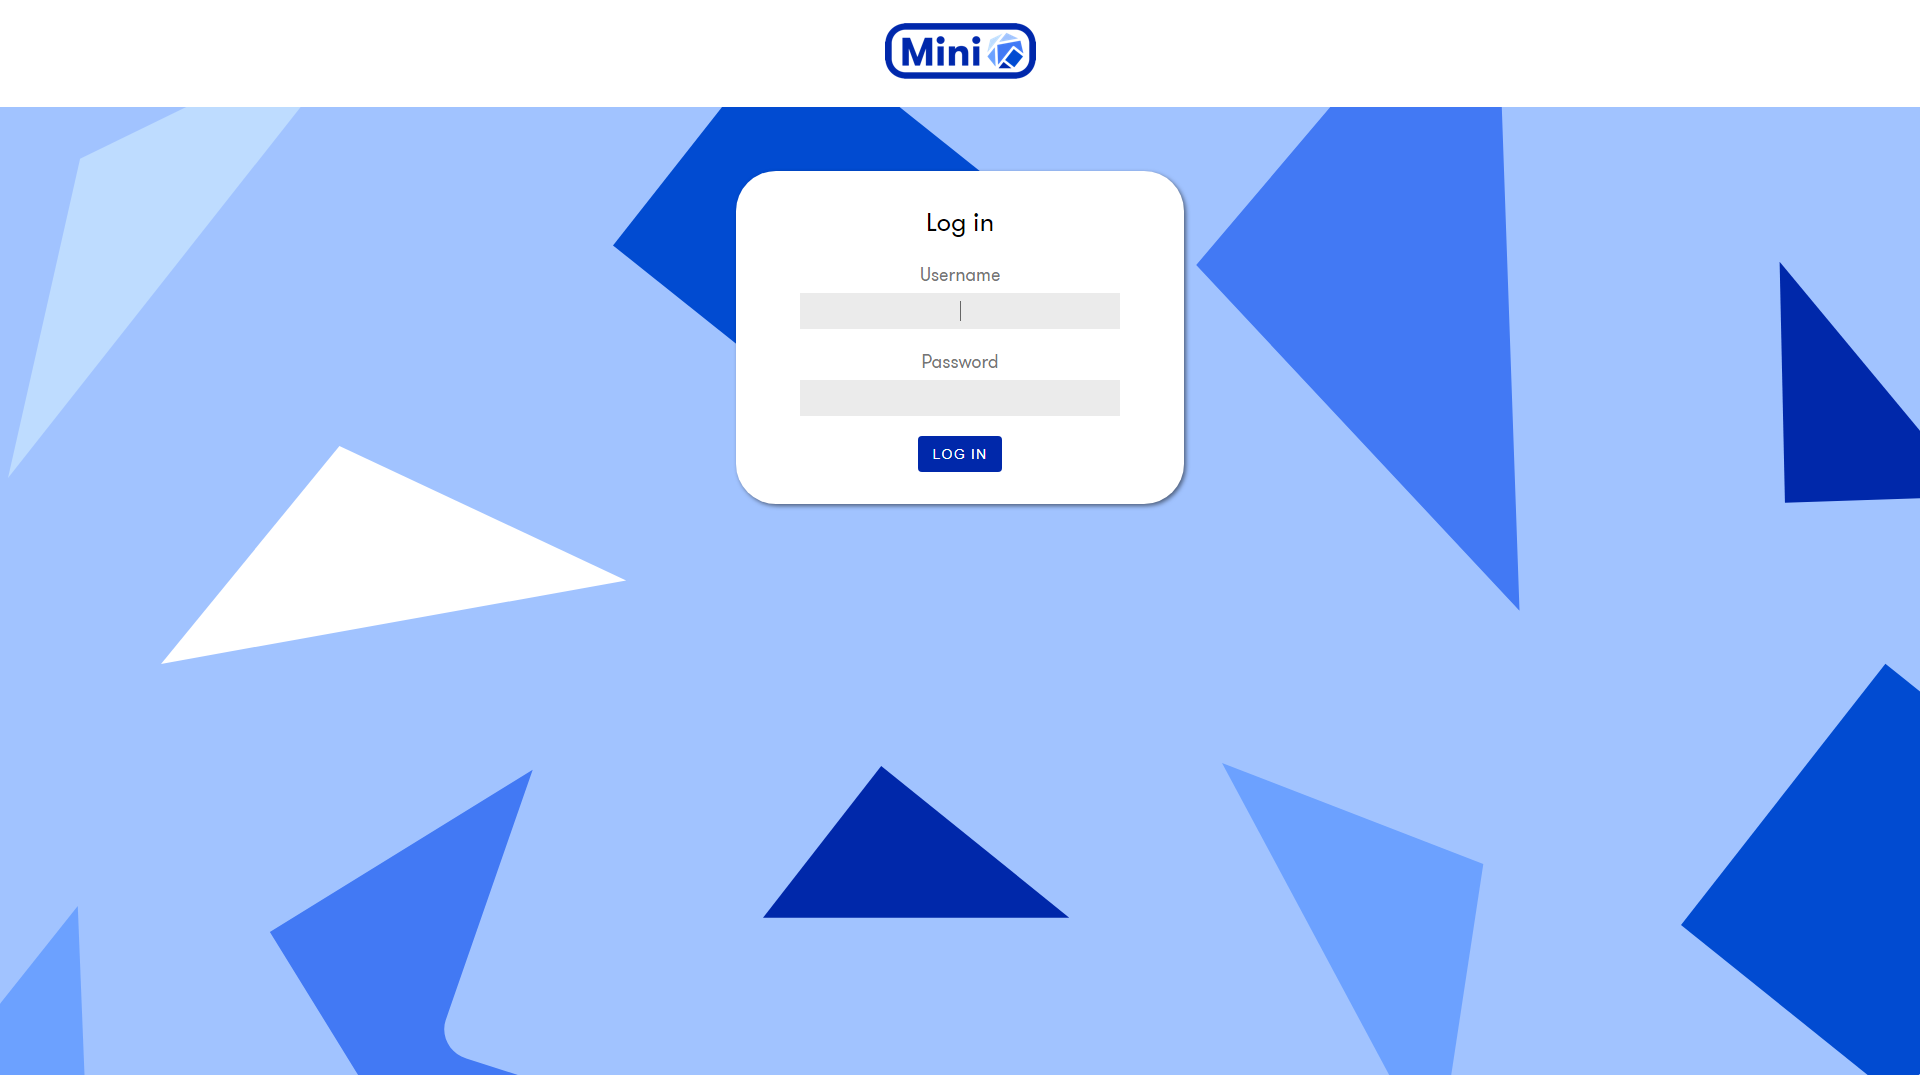
Follow the URL and log in to MiniKF using the provided username and password.
Νote: Note that MiniKF uses a self-signed certificate, so you will have to follow this guide to proceed to the MiniKF dashboard.
-
Once you log in, you will see the MiniKF Dashboard.
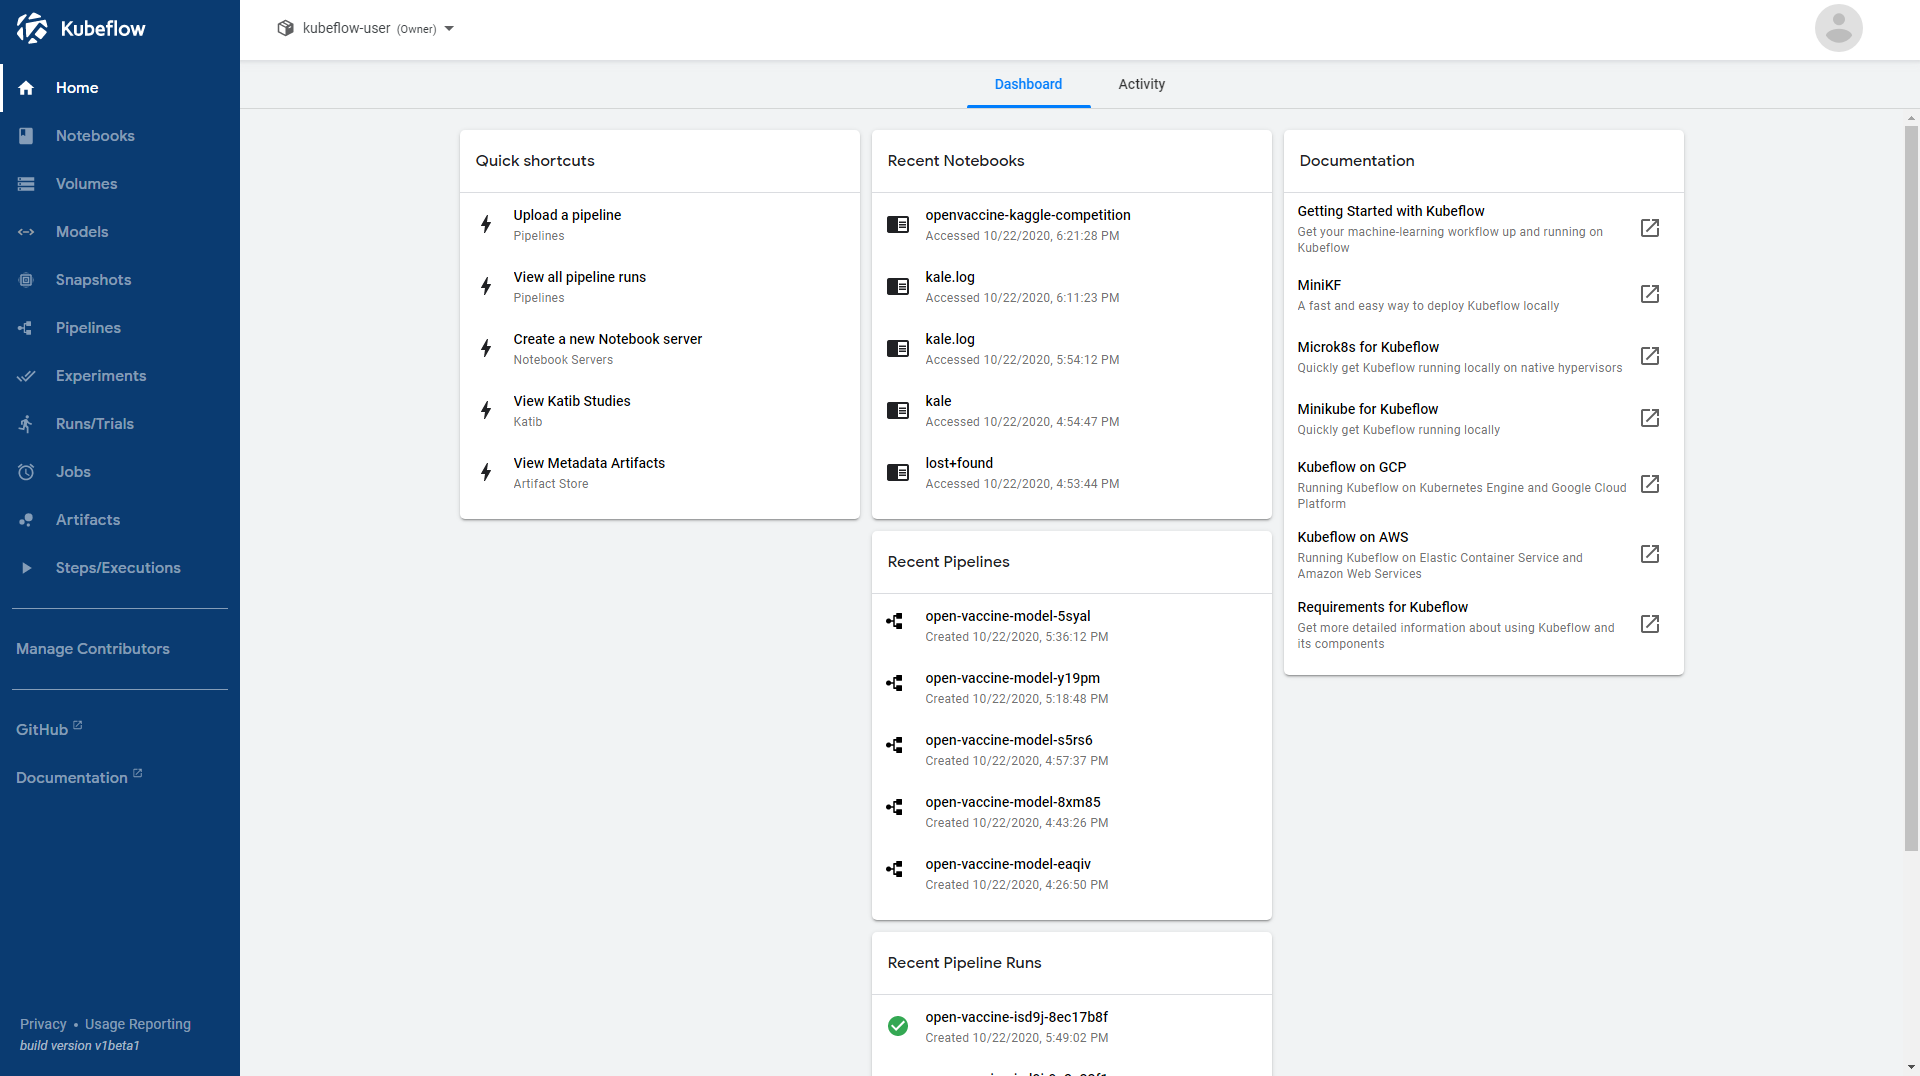
Congratulations! You have successfully deployed MiniKF on AWS. You can now create notebooks, write your ML code, and run Kubeflow Pipelines.
Feedback
Was this page helpful?
Glad to hear it! Please tell us how we can improve.
Sorry to hear that. Please tell us how we can improve.